Hobbies & Collectibles / Guides & How-To’s
Miniature Painting Brush Sizes: Should You Choose 0, 1 or 2?
A tiny detail does not always need the tiniest brush. Compare the point, belly and reach, then use three simple practice marks to choose your everyday brush.
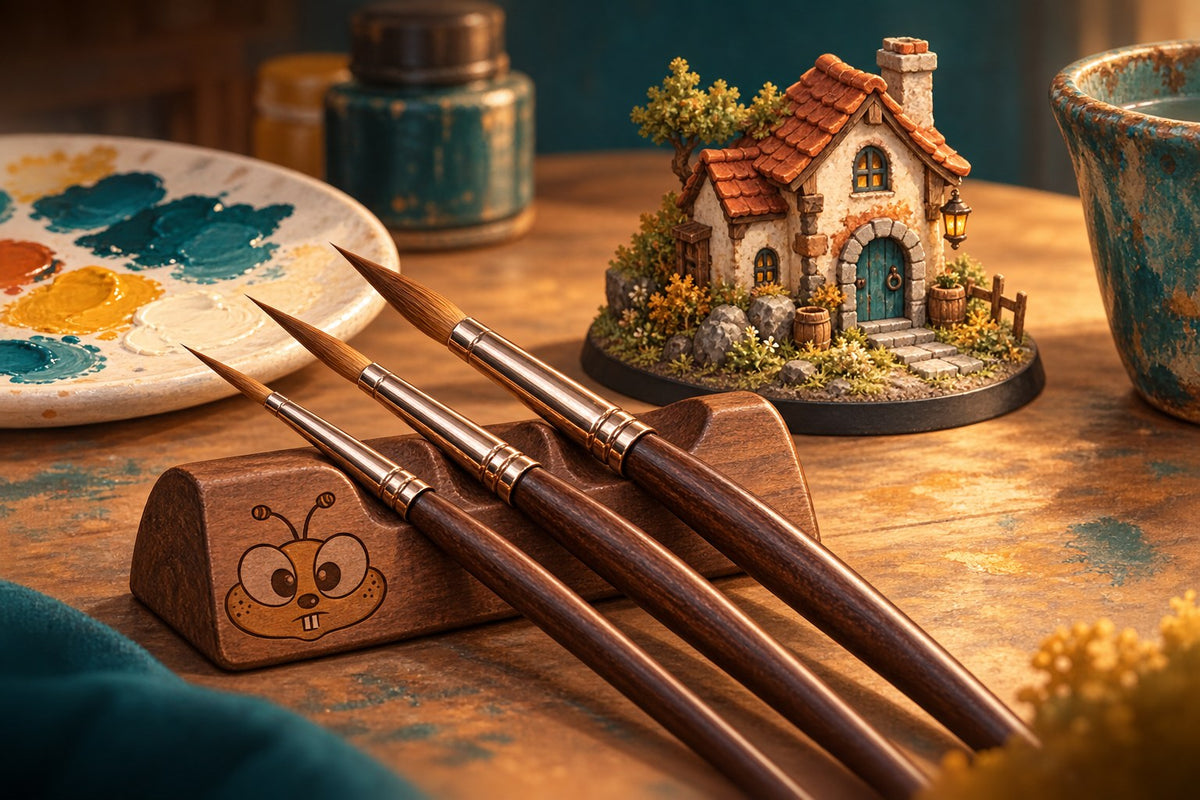
Start by comparing a pointed round size 1 or 2 for everyday miniature painting, then add a smaller brush only when it solves a specific problem. A size 0 can help in a cramped area, but the number alone does not tell you how fine a line the brush will make. Look at its point, the fullness of its bristles and how comfortably it reaches the detail.
That tiny buckle on a figure can make a rack of tiny brushes look tempting. Before buying the whole rack, separate two questions: can the tip make the mark, and can the brush reach the place? Those are different jobs. A fuller pointed brush may handle an exposed edge beautifully, while a narrower one is easier to place between a shield and a coat.
01 / The number is a starting point
Size 0 vs 1 vs 2: what actually changes?
Within a particular pointed-round range, increasing numbers generally indicate a larger brush. Across brands—and even across different ranges from one maker—the sizes are not standardized. A size 1 is not a promise of a particular width in millimeters, and a size 2 is not necessarily twice as wide as a size 1.
Compare the actual hair length and width when measurements are available. Check the series name as carefully as the number: a short-haired detail brush and a longer pointed round can feel quite different despite sharing a size label.
| Size | Where to try it | What to check |
|---|---|---|
| 2 | Cloth panels, armor and everyday layers | Does it keep a fine point and fit the space? |
| 1 | Smaller areas and a possible all-rounder | Can you paint comfortably without constant reloading? |
| 0 | Confined details and short precise marks | Does the narrower shape improve access? |
| 00 / 000 | A specific detail your other brushes cannot reach | Is it solving a real problem rather than duplicating a good tip? |
Our starting choice is one medium pointed round and one smaller companion, rather than a complete numbered set. Choose the pair by their actual shape. Keep a separate inexpensive utility brush for rough work so your best point does not have to do everything.
02 / Look past the handle
Point, belly and length do different jobs
A pointed round, up close
The point places the mark. A larger round can still taper to a fine tip. Judge the point when the brush is prepared for painting, not only by the silhouette of dry bristles in a product photo.
The belly holds liquid. A fuller hair bundle has more carrying capacity. That gives you a reason to try a slightly larger pointed round before assuming every small detail requires a smaller brush. It does not mean loading paint all the way into the metal sleeve.
Hair length affects access and feel. Shorter bristles can put the tip closer to your grip; a fuller or longer head can get in the way of a very confined spot. Neither shape is automatically the right choice for every miniature.
“Miniature” on the packet does not settle the choice
Winsor & Newton’s Series 7 Miniature brushes have shorter hair than the regular Series 7 rounds. The name describes a particular brush shape, not a requirement for painting tabletop figures. Compare the two profiles instead of assuming the miniature version must be better for your model.
Task names can also be useful clues. The Army Painter separates brushes for basecoating, detail work and drybrushing. Those names help identify a role, but do not convert directly into another maker’s numbered sizes.
03 / Give each brush a job
What are you trying to paint?
Open the situation that sounds like your next step. Start with a brush you already own if its shape suits the job.
A coat, armor panel or other open area
Try your fuller pointed round first. Use its body to cover the area and its tip near boundaries. If you spend most of the session returning to the palette, compare a larger brush that still fits comfortably.
A large vehicle panel may call for a broader brush altogether; the 0–2 shortlist is not a rule for every surface.
A narrow gap behind a shield or between parts
Prioritize access. A narrower head may help you place the tip without touching nearby surfaces. Turn the model and check the approach before loading the brush. Shorter is not always better if it brings the ferrule into the way.
A tiny dot, buckle or exposed edge
Try the sharp point you already have, with a modest paint load and light contact. If its body blocks your view or touches neighboring areas, switch to the smaller companion. A 000 is an option, not a prerequisite for painting eyes.
Drybrushing stones or applying gritty texture
Use a brush suited to that technique. Drybrushing and pushing textured material around ask something different of the bristles than placing a fine line. Keep those jobs off the pointed round you rely on for details.

04 / Let three marks help you choose
A small practice exercise before the next miniature
Use a spare primed base or practice piece and the water-based hobby acrylic you intend to paint with. A similar surface makes the exercise more useful than comparing marks on absorbent kitchen paper. Keep the paint mixture and surface the same while comparing two brushes.
- Draw a few short lines. Start with light pressure. Notice whether the tip stays together and whether you can begin and end the stroke where you intend.
- Place separate dots. Watch the first touch. If it leaves a large bead, reduce the load before deciding that the brush itself is too large.
- Fill a small patch. Notice how often you need to reload and whether the brush feels comfortable covering the area.
Choose the brush that makes the job easier for you. If both produce a useful fine line but one covers the patch with fewer interruptions, that is a sensible everyday brush. Keep the other for the spaces where it has an advantage.
If the paint will not leave the tip
Pause before buying a smaller brush. Rinse and reload, check whether paint has begun drying on the tip, and adjust the paint according to its instructions. If the line starts as a puddle, remove excess paint first. Changing brush size, paint dilution and pressure together makes it harder to see which change helped.
05 / Buy for the next project
A short shopping note beats a large brush set
Write down the brush range, size and job you want it to do. If you like a brush you already own, compare a new purchase with that particular brush rather than with its number alone. Look for useful measurements, clear tip photographs, suitable bristles for your paint and a handle you can hold comfortably.
A synthetic pointed round is a practical place to begin with acrylics. A more expensive natural-hair brush is a choice to consider once you know the shape and handling you prefer; price alone will not tell you whether the tip can reach a recess on your figure.
For water-based acrylic work, rinse before paint dries in the bristles and clean promptly after painting. Keep paint away from the ferrule and avoid leaving a brush standing on its point. Follow the brush maker’s care directions, especially if you use a different paint or cleaner.
Planning the rest of the project? The Hobby Workbench connects painting, preparation and basing guides. If you are still choosing your kit-building tools, start with the separate model-building tool guide.
You do not need to earn your way down to the tiniest brush. Find a dependable point, give it enough room to work, and add another shape when the next miniature gives you a reason.