


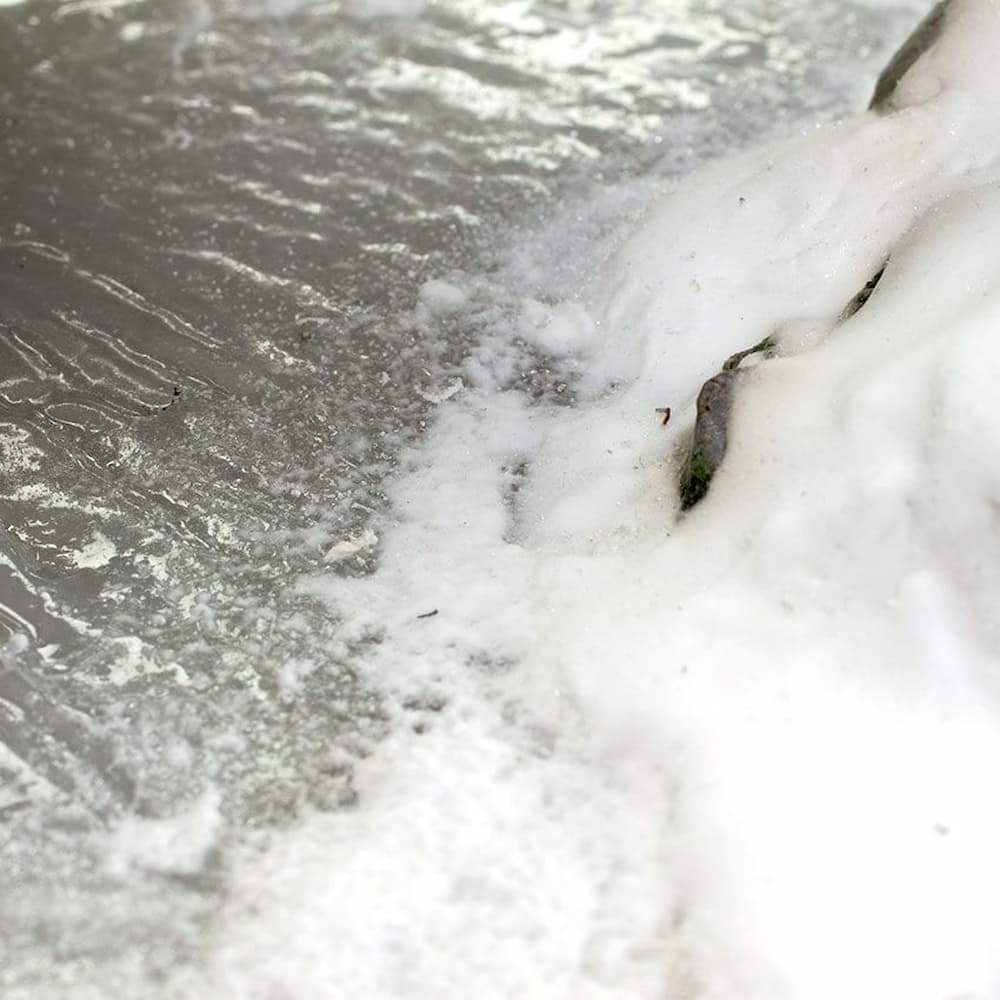

For melting-snow miniature bases, finish the ground first, add thin, irregular patches of snow, and leave a few dark, wet-looking edges exposed. The contrast between snow, soil and moisture makes a thawing scene readable. Covering everything in an even white layer loses that story.
AK Interactive Snow Sprinkles works well for planning a light thaw or first snowfall. Start with one spare base to settle on the snow coverage and wet accents before repeating the effect across a winter army or larger diorama.
Is AK Snow Sprinkles right for your snow base?
Snow Sprinkles 100ml is an acrylic texture for thin spring-snow layers. It can be used alone or alongside Snow Terrains. Choose it when you want light coverage and visible groundwork; plan a separate buildup material if your scene needs substantial drifts.

| Scene | Suggested layout | Main visual cue |
|---|---|---|
| First light snowfall | Small deposits on selected ledges and ground | Most underlying texture remains visible |
| Melting snow | Broken patches beside exposed soil or rock | Uneven edges and restrained wet accents |
| Deep winter | Raised deposits with planned depth | Snow has volume, not just a white surface |
What you need—and what can wait
- A spare base or test surface, plus your finished miniature base.
- Ground texture, rocks and paint you already use.
- Snow Sprinkles, a small spatula or an older synthetic brush, and a palette.
- Optional: a compatible gloss varnish for small wet-looking areas on painted ground.
You do not need to buy an entire winter-effects range for your first test. Start with a ground surface and one snow product. Add another material only when you can name the missing effect: deeper snow, standing water or a wet surface.
If you need groundwork, the Dark Earth 250ml terrain texture is a possible starting point. Check the selected finish and size when shopping; the terrain range includes very different surfaces.
How to make a melting-snow miniature base
1. Finish a base that looks good without snow
Build and paint the soil, stone or rubble first. Keep the miniature's contact points clear while planning the layout. Let the underlying materials dry according to their directions before adding the snow effect.
Think of snow as a selective final layer. If you like a particular rock or footprint, leave part of it visible. That gives the viewer a recognizable detail to compare with the snowy areas.
2. Sketch three zones
On paper, mark a snow patch, an exposed path and one possible wet edge. For a small round base, try an off-center patch near a rock, a narrow strip of visible ground across the front and a tiny wet accent where those areas meet. Adjust the placement to suit your miniature.
A larger display can use the same idea around a wall, vehicle track or stream bank. Choose one main direction of travel so footprints or cleared ground look intentional.
3. Test a small amount before covering the base
Place a little material on a palette and try a thin patch on your spare surface. It can be diluted with water or acrylic thinner to improve flow; start conservatively and judge the dried sample before changing the mix. Allow roughly 2–4 hours to dry, depending on the amount applied and the temperature. Follow the current container directions.
4. Shape broken edges
Apply the snow in separate areas rather than dragging one continuous band around the miniature. Vary the outline: a broad section, a narrow tail and a small isolated patch are more interesting than three identical circles.
Step back and look at the base at normal viewing distance. If your eye goes to the snow before the miniature, reduce the planned coverage on the next test or move the brightest patch away from the front edge.

5. Add a small wet accent, if the scene needs one
For a simple thawing effect, try a little compatible gloss varnish on an exposed patch of painted ground beside the snow. Test it on your sample first. The aim is a change in sheen, not a deep puddle, so keep the application within the varnish's instructions.
The AK 3G Gloss Varnish adds a glossy finish to exposed ground. If you want actual water depth or a larger pool, use the separate diorama water-effects guide to choose a suitable material.
6. Inspect the dried result before repeating it
Compare your sample with the scene you planned. Is the exposed path still visible? Does the rock still have an edge? Is the wet accent small enough to look like part of the terrain?
Write down the ground colors, snow placement and any dilution you used. Keep the sample beside you while working on the rest of the squad. Repeat the palette and general coverage, while changing the outline slightly on each base.
Three problems to catch on your test base
- The ground disappears: use smaller separated snow patches on the next sample. Start with less; you can assess whether it needs more after drying.
- The whole base looks wet: reserve gloss for exposed ground in a few selected spots. A uniform finish makes the different materials harder to distinguish.
- The snow looks like an unrelated decoration: place it around a feature already in the scene, such as the sheltered side of a rock or the edge of a traveled path.
Avoid applying an untested all-over topcoat to the completed snow effect. A new coating can change the finish you chose; try the complete layer sequence on your spare base first.
Common questions about snow bases
Should snow go on before or after painting?
For this method, finish and dry the painted groundwork first, then add snow. That keeps the snow-placement decision separate from painting the underlying detail.
Can I use this layout for Warhammer miniatures?
Yes—the composition is useful for fantasy, science-fiction and historical models. Keep the base size and any scenic overhang appropriate for the game you play. For choosing an overall army environment, start with our five battlefield basing themes; this guide develops the melting-snow technique specifically.
Do I need water effects for a snow base?
No. A snow-and-ground contrast can be enough. Add a wet accent only if it helps communicate a thaw; choose a dedicated water medium when your design calls for an actual pool.
How do I plan a winter diorama without buying too much?
Make one test base before buying supplies for the whole display. Decide whether the scene needs light snow, deep accumulation or water, then buy for that effect. Starting ahead of a winter project gives you time to adjust the sample and check the quantities you actually use.
Start small: choose AK Snow Sprinkles for the light-snow layer, use your existing groundwork supplies, and add wet effects only where the scene calls for them. Browse Effects & Textures when you know which additional surface your project needs.