


SPINNING / SPINCAST
The weight carries
the line.
The lure or weighted rig pulls line from the reel. A versatile starting point for bank fishing; a spincast reel adds a push-button release.
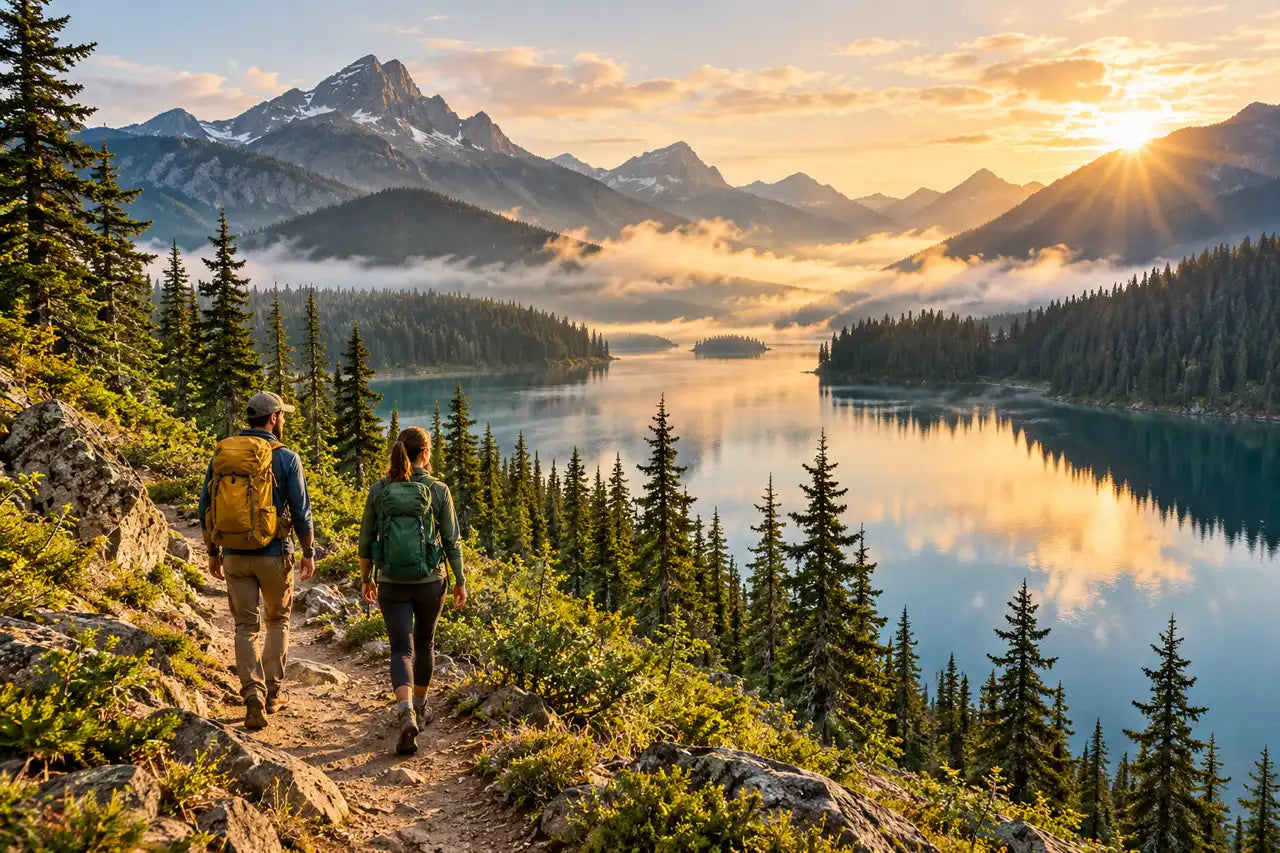
LESS SCROLLING. MORE SKY.
A first cast. A new trail. A weekend worth repeating.
Find your next day out ↗ THIS SEASON / AUTUMN
A LITTLE FRESH AIR / A LITTLE LESS PLANNING
Make one afternoon feel like a getaway. A picnic with a view, a short trail, and enough time to enjoy both.
Set your return time before you leave. Bring a headlamp even for an afternoon outing.
Check the actual trail surface, slope, facilities and closures for everyone joining you.
Mountain snow, coastal rain and warm lowlands need different plans. Check your destination forecast.
FISHING / START AT THE VERY BEGINNING
You don’t need a boat or a tackle box full of guesses. Start with a simple freshwater setup and an easy place to learn.
THE FIRST-TRIP RECIPE
Try a legal public fishing pier or an open bank on calm freshwater. Check the license, access, bait and species rules first. Ask a local tackle shop what small fish are being caught there.
A matched spinning or push-button spincast combo, suitable line, small hooks, a bobber and split shot make a practical starting kit. Add pliers, a net, sun protection and a bag for used line.
Tie on the hook, add a small split shot above it, then attach the bobber farther up the line. Use only enough weight to keep the bait down without sinking the float. Adjust the depth to keep the bait off the bottom.
Check behind you for people and branches. Start close, watch the float, and practice controlling the line before trying for distance. A correctly fitted life jacket is a sensible choice near deep water.
Check the line and lure ratings printed on the rod and match them to the reel’s instructions. Have a shop spool the reel if you’re unsure. Feed line through every rod guide with the reel’s bail open, then close it. Lay out the small tackle on a tray so hooks don’t disappear into the grass.
For suitable monofilament line, an improved clinch knot is a useful starting point: pass the line through the hook eye, wrap the tag end around the standing line five to seven times, then pass it through the small loop by the eye and back through the large loop just made. Wet, tighten slowly, check the knot and trim the tag. Practice with thick cord before handling a hook. Follow line-maker guidance for other line types.
Follow the knot illustration ↗Hold the line against the rod with your index finger, open the bail and check the area behind you. Make a gentle forward cast, releasing the line with your finger as the rod moves forward. Close the bail by hand and reel in loose line. Practice in a clear area with a casting plug before adding a hook; a spincast reel uses its release button instead.
Keep control of the rod and retrieve steadily. The way you set the hook depends on the hook type—circle hooks work differently from J-hooks. Bring the fish to a net rather than hoisting it by the line. For release, wet your hands, support the fish, minimize time out of water and avoid its gills. Check identification and local limits before keeping any fish.
Keep hooks out of walking areas. Take broken line and bait packaging home, and never move live fish or leftover live bait between waters.
More beginner instruction ↗SPINNING / SPINCAST
The lure or weighted rig pulls line from the reel. A versatile starting point for bank fishing; a spincast reel adds a push-button release.
FLY FISHING
A weighted fly line delivers a usually lightweight fly through a leader. It uses different gear and casting techniques, and works for more than trout.
Explore fly-fishing basics ↗BAITCASTING
The spool turns as line leaves. Brakes and thumb control help prevent overruns. Learn a simple setup first, then choose equipment around the fishing you enjoy.
THE TACKLE BENCH / MISSILE BAITS
Know what you’re tying on.
Find your next soft-plastic starting point.

THE HAPPIBEE FIND
A ribbed creature bait for your next pitching, flipping or Texas-rig session.
Green Pumpkin / 6-count
Explore the D Bomb ↗D Bomb or Baby D Bomb? ↗
NED RIG STARTING POINT
Green Pumpkin
$4.24 · Explore ↗
A SMALLER PROFILE
Green Pumpkin
$3.74 · Explore ↗
THE DROP-SHOT OPTION
Green Pumpkin
$4.24 · Explore ↗LEARN ONE RIG AT A TIME
A soft plastic and compatible offset hook, with a sliding weight. Start by getting the bait straight.
Find your starting point ↗A small plastic and matching jighead. Learn the feel of the bottom before changing every variable.
Try a slower approach ↗THE CAMP SKILL / START TO FINISH
Only where fires are permitted.
Check local restrictions and conditions first.
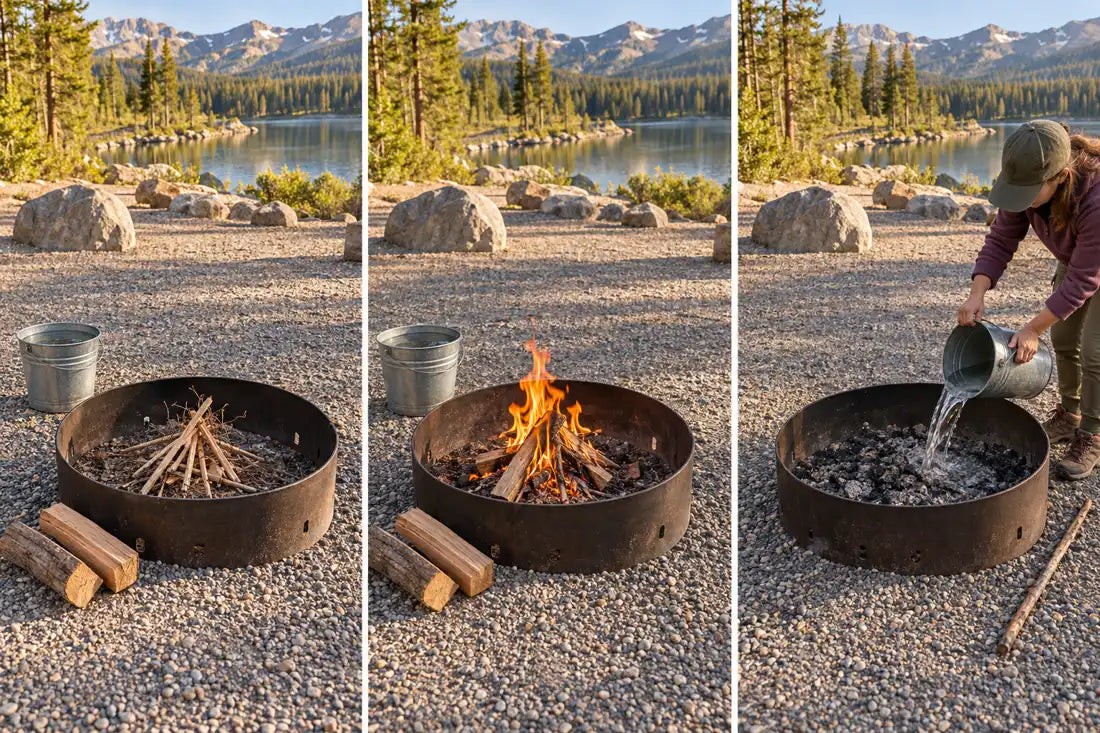
Use the established ring. Have water ready and keep flammable gear well away.
Start with dry tinder and kindling. Leave room for air; add small logs gradually. Stay with it.
Drown, stir, and repeat until the ashes are cold. Never leave warm embers behind.
THE PRACTICAL OUTDOORS / SAVE THESE SKILLS
Prepare while the weather is good and the way home is obvious. These are starting skills to practice before a trip.
SKILL 01 / BACKUP IGNITION
A ferro rod makes sparks, not an instant campfire. Prepare dry tinder and small kindling before the first strike.
First, check restrictions. A different ignition tool does not make a fire legal. Use an approved fire area, have water ready, and follow the tool’s instructions.
No rod or matches either? Friction-fire methods require suitable material, practice and energy; they are an unreliable beginner emergency plan. Carry more than one tested ignition method and keep tinder dry. If stranded, focus on shelter, communication and being found rather than assuming you can improvise a fire.
UCO’s ferro-rod guidance ↗WHEN THE ROUTE STOPS MAKING SENSE
Pause, assess your location, and make yourself easier to find.
Stop in a safe place. Compare the map, last known location and visible landmarks without wandering in search of a shortcut. If you cannot confidently establish your route, stay put unless the spot presents an immediate danger.
Call 911 when you need emergency help. Give your location or coordinates, the number of people, injuries, supplies and visible landmarks. Follow the dispatcher’s instructions. A satellite communicator is useful only if you brought it, activated it and know how to use it.
Use your layers and emergency shelter to limit exposure. Make yourself visible and use a whistle to attract attention. Conserve battery; avoid using it for entertainment. Before any trip, leave a route and return time with someone who knows whom to contact if you are overdue.
NPS outdoor emergency plan ↗THE RAIN PLAN
Practice pitching before leaving home. A new tent is easier to learn in daylight.
Use the designated tent pad where provided. Avoid depressions where water collects and inspect for overhead hazards. Stake and tension the rainfly according to the tent instructions; maintain ventilation and avoid pressing gear against wet fabric.
Keep a footprint within the tent floor’s outline so exposed edges do not catch runoff. Store dry sleeping clothes and bedding inside waterproof liners. Separate wet footwear and outer layers from your sleeping space.
Have a realistic alternative if conditions exceed your equipment or experience. Never cook or run a fuel-burning stove inside a tent. Follow the campground’s food-storage requirements; a tent is not food storage.
NPS campsite planning ↗WATER / BEFORE YOU RUN LOW
Plan your supply and treatment around the actual route.
For a short outing, bring drinking water from a known safe source and check whether facilities are open. Do not depend on a seasonal stream or a tap shown in an old trip report.
Untreated water may contain germs even when it looks clear. CDC recommends boiling, or filtering then disinfecting when boiling is not possible. Filters differ: some do not remove viruses. Follow the device or treatment instructions, including contact times and cold-water limitations.
Boiling or disinfecting does not remove chemical contamination. Avoid water affected by harmful algae, fuel or other pollutants. Carry a backup plan rather than treating every source as usable.
CDC water-treatment guidance ↗THE GROUP PLAN / PAINTBALL
New to the field?
Start with the experience, then build your kit.
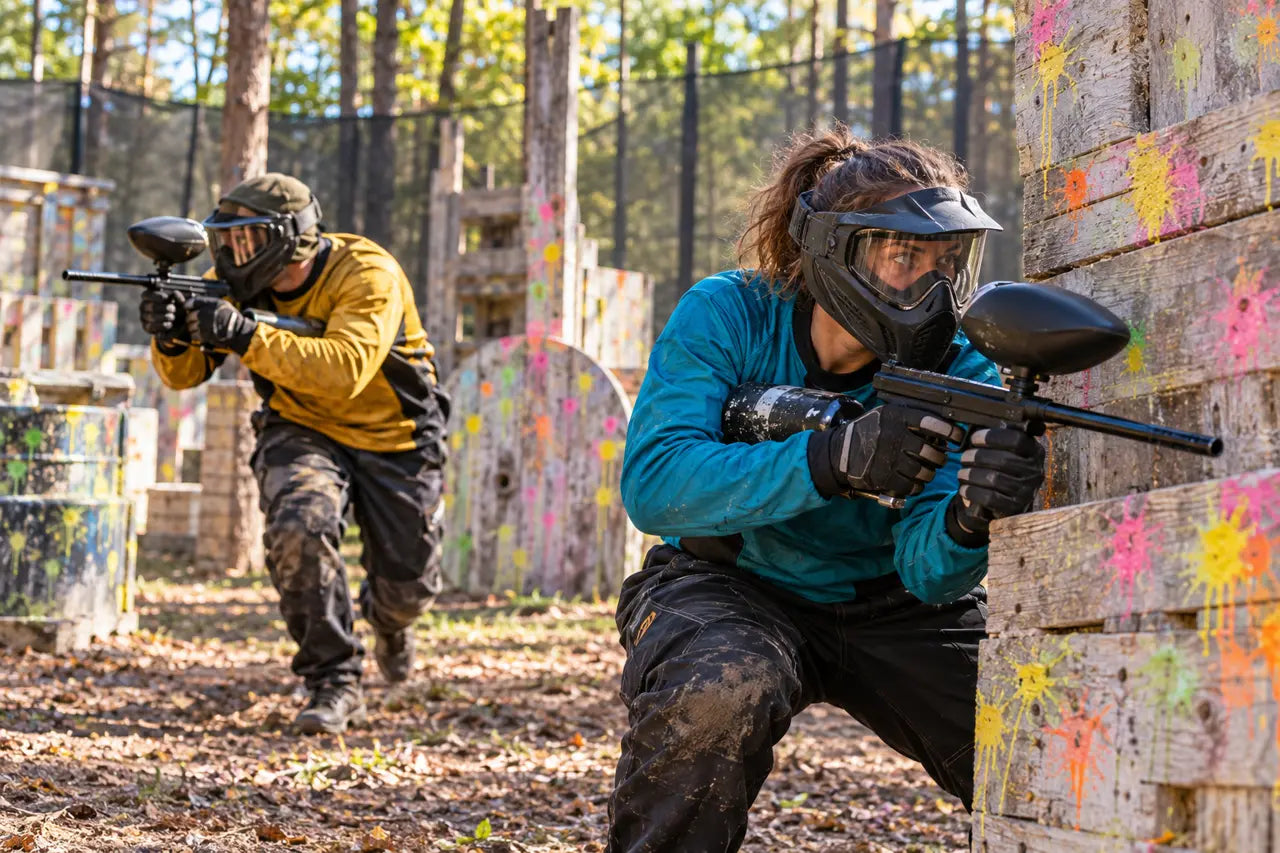
YOUR FIRST PAINTBALL DAY
Ask what the field package includes before buying a marker, mask or paint. A day of play helps you discover what you actually enjoy.
What to wear & what to ask ↗In the playing area, every time.
Confirm caliber and field-paint rules.
Long layers and grippy closed-toe shoes.
Follow the briefing and call for help.
THE AMERICAN OUTDOORS
Four very different places to begin.
Choose the landscape; then plan the day.
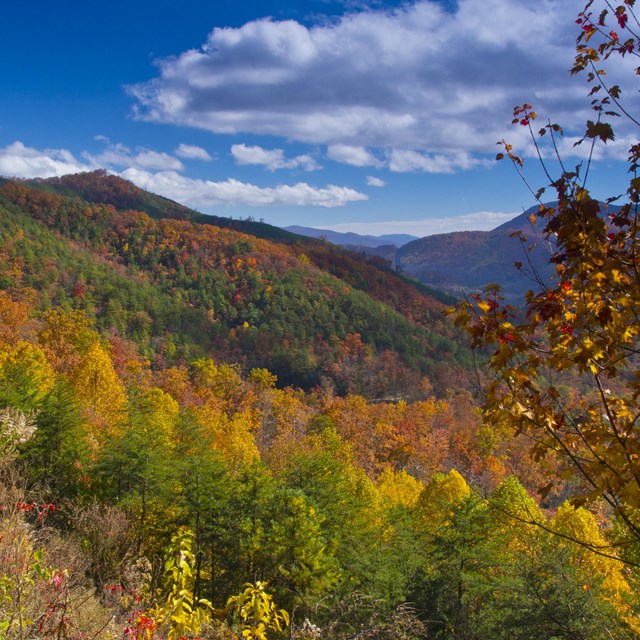
TENNESSEE / NORTH CAROLINA
Forest roads. Layered ridges.
Start with a scenic drive or a trail matched to your group. Check parking requirements and closures.
Plan with the National Park Service ↗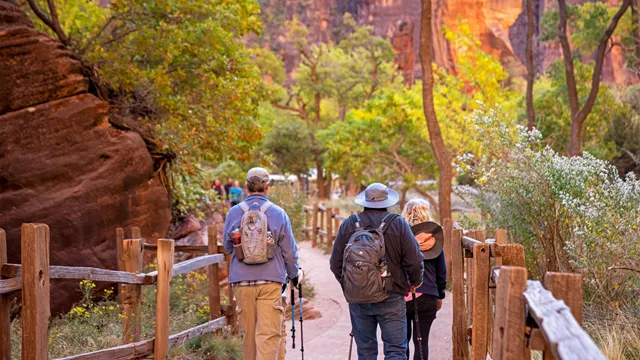
UTAH
A canyon changes the scale.
Plan around the park’s current shuttle, heat and trail guidance. Check permits for your chosen activity.
Plan with the National Park Service ↗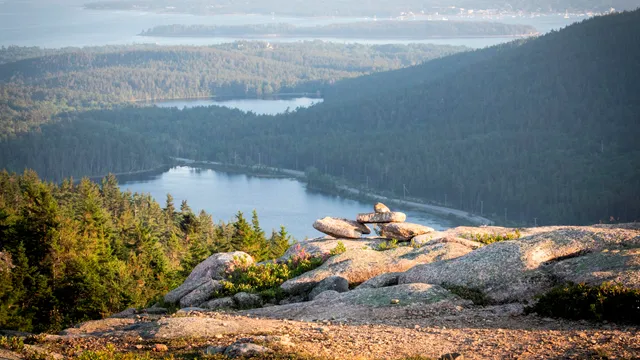
MAINE
Where granite meets the sea.
Build a coastal day around access, weather and daylight. Check vehicle reservations for your route.
Plan with the National Park Service ↗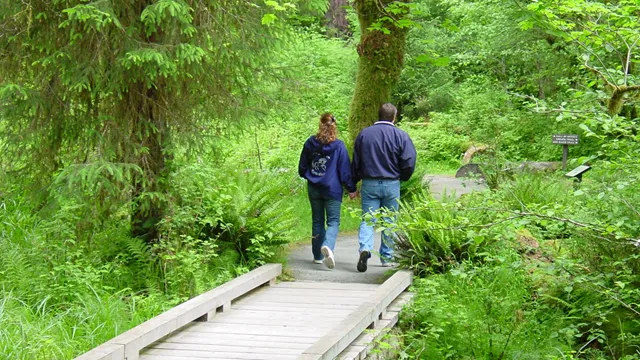
WASHINGTON
Many landscapes. One park.
Choose a region first: rainforest, mountains or coast. Driving between them takes planning.
Plan with the National Park Service ↗Park photographs: National Park Service planning pages. Check current alerts, access and accessibility information before traveling.
Recreation visits, not unique visitors. Popularity is not a ranking of quality.
NPS 2025 visitation report ↗AFTER THE SUN GOES DOWN
Scout your viewing spot before dark. Look for an open view, less glare and a straightforward route back.
Choose your stargazing spot ↗SMALL EXPLORERS / BIG DISCOVERIES
A good family outing can be short. Give everyone something to notice, somewhere to pause and a say in when to head back.
Little legs: hunt for colors on a short path.
Curious kids: sketch tracks, leaves or clouds.
Older explorers: help read the map and choose a turnaround point with an adult.
Find these outdoors, then tap each tile to mark it spotted. Tap again to undo. Leave what you find in place.
Your first discovery is waiting. Pick something to look for.
Stay together, keep to permitted paths and leave wildlife space. Progress lasts for this page visit.Pitch the tent in the backyard or another permitted nearby space before planning a remote overnight. Check that everyone’s sleeping kit fits and that adults can set up the shelter. A daytime picnic using the same gear is a useful practice run, too.
For the first campground, prioritize toilets, drinking water, a straightforward arrival and a clear exit plan. Ask about the actual distance from parking to the tent pad and any mobility needs. Arrive early enough to set up without rushing.
One child can count sleeping mats; another can choose the observation game. Adults manage fire, sharp tools, food safety and boundaries. Explain where the group will stay together and what to do if separated before exploring.
Choose one short walk, one game or one ranger activity. Leave room for rest and a familiar snack. The goal is a pleasant first experience, not finishing a mileage target. Adjust the plan when the group is tired or the weather changes.
Prepare a familiar meal, locate the toilets before dark and give each person an appropriate light. Follow site rules for food and scented items. Agree that heading home early is an option; success can be learning what to change next time.
NPS backyard camping ideas ↗THE CAMP KITCHEN / LESS FUSS, MORE OUTSIDE
A simple first-night menu and a cooler you can find things in. Start with familiar ingredients and easy cleanup.
PACK WITH A PLAN
Sealed prepared food
Use first • easy to reach
Ice or frozen packs
Around the food
Leakproof container below
ready-to-eat food
Organization diagram. Ice quantity and duration depend on the cooler, contents and conditions.
Plan the arrival meal, breakfast and an easy backup before shopping. Group ingredients by meal in clearly labeled containers. Take a small cutting board, utensils, soap, drinking water and a way to carry waste out. Check whether your campsite actually has potable water.
Pre-chill perishable food and pack it cold. Keep the cooler closed and shaded as much as practical. A separate drink cooler can reduce openings of the food cooler. Use a thermometer; remaining ice alone does not establish that every item is at a safe temperature.
Keep perishables at 40°F or below. Discard them after more than two hours out of refrigeration, or one hour when the temperature is above 90°F. If you cannot establish safe storage, do not rely on smell or taste.
USDA camping food guidance ↗If you bring raw meat, contain it so leaks cannot reach prepared food. Wash hands and utensils before handling ready-to-eat ingredients. A menu without raw meat simplifies a first trip, although prepared vegetables, dairy and other perishables still need temperature control.
Follow the campground or land manager’s instructions for food, trash and scented items. Use the required locker or approved container; an ordinary cooler is not automatically wildlife-resistant. Keep food out of sleeping spaces.
Pack out scraps and packaging, and dispose of wash water as the site directs. Leaving a clean table and an empty fire ring makes the next person’s arrival better, too.
NPS camp cooking and storage ↗BEFORE THE TRAILHEAD
A day-hike checklist built around the Ten Essentials. Adapt it to your route, weather and group.
0 / 10 checked
Build your day-hike kit ↗Checklist progress is for this visit. A checked list does not replace trip planning. NPS Ten Essentials ↗
AFTER DARK / LEARN ONE THING TONIGHT
Your eyes are enough to begin. Choose a clear evening, a permitted dark location and one thing to look for.
The Big Dipper is a recognizable star pattern within Ursa Major.
The two stars on the outside of its bowl point toward Polaris, near the north celestial pole.
Set your location, date and time in a sky chart. A pattern may be low or hidden from your viewpoint.
Check clouds, Moon phase, legal access and opening hours. A darker location helps faint stars stand out, but a familiar nearby spot is a good place to practice. Visit in daylight first so the surface and return path are familiar.
Bring a layer, a seat, a light and a charged phone. Allow time for your eyes to adjust, reduce screen brightness and avoid shining lights toward other people. Keep enough light available to walk safely.
Sketch the Moon’s shape or the star pattern you find, then revisit another evening. Compare the view with a chart set for your location and time. Don’t expect every constellation to be visible all night or in every season.
Our diagram teaches a relationship between stars, not a route through unfamiliar terrain. Use a proper map and navigation plan on your outing. Leave the site as you found it and respect night closures.
NASA: finding a stargazing location ↗MAKE IT HAPPEN / YOUR NEXT SMALL ADVENTURE
A suggested outing to adapt to your location, weather and group. You don’t need a whole vacation.
YOUR STARTING IDEA
Choose a nearby maintained path with a clear turnaround point. Leave time to sit, look and enjoy a snack before heading back.
DATES, PERMITS & THE DETAILS THAT CHANGE
Great conditions and an open season are different things. Verify the rules for your exact destination before booking or buying.
Look up your state, waterbody and species. Check open dates, license exemptions, bait rules, size and bag limits. Free-fishing days may waive a license without waiving other rules.
Find your state’s fishing information ↗Check state rules, species, management unit, method and permit deadlines. Federal lands may add their own restrictions. Verify the current regulation before making a plan.
Find official state license resources ↗Confirm reservations, seasonal road access and campground opening dates with the land manager. For sky events, check the viewing time, location and Moon conditions.
Check your park’s current alerts ↗Check monthly sky highlights ↗Planning resources, not a live season calendar. Local rules and conditions control. Editorial source review: October 7, 2026.
KEEP EXPLORING / THE FIELD NOTES
Fishing
Two creature baits. Choose a starting point for your next session.
Read the guide ↗Fishing
A small soft plastic, a compatible jighead, and a slower starting point.
Read the guide ↗Paintball
Arrive ready for the briefing, without buying a whole setup first.
Read the guide ↗Camp skills
Prepare the spot, build small, and finish with cold ashes.
Read the guide ↗Trails & parks
Build a small kit around the route, the weather and a delayed return.
Read the guide ↗Trails & parks
Go beyond the top-ten list with a plan that fits your time.
Read the guide ↗Camp skills
A quieter spot, a clear view and time to let your eyes adjust.
Read the guide ↗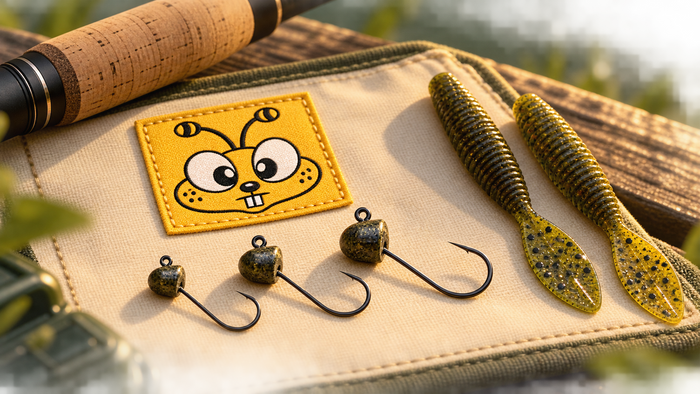
FIELD NOTES
Choose a Ned-rig head for the water in front of you. Compare three useful weights, check your presentation and pair the head...
Read the guide ↗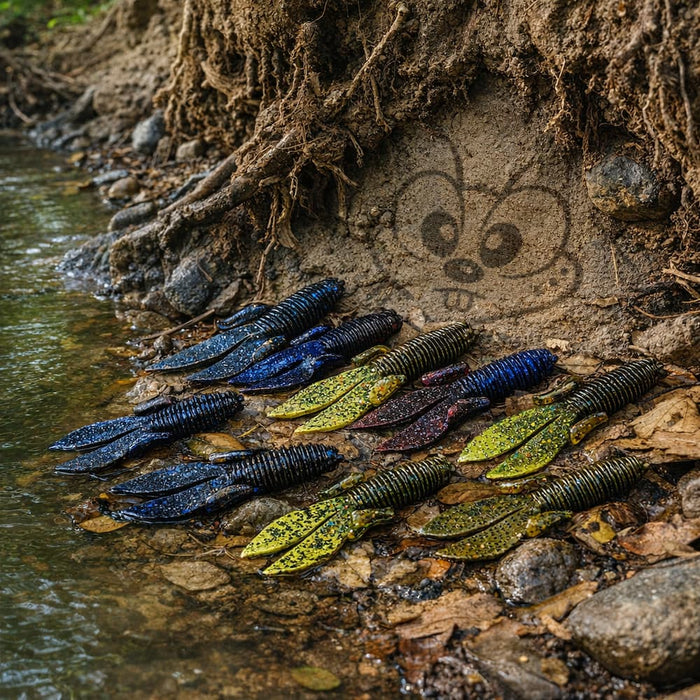
FIELD NOTES
Baby or Micro? Compare Missile Baits' two smaller D Bomb models by length, pack count and rigging use, with practical advice for...
Read the guide ↗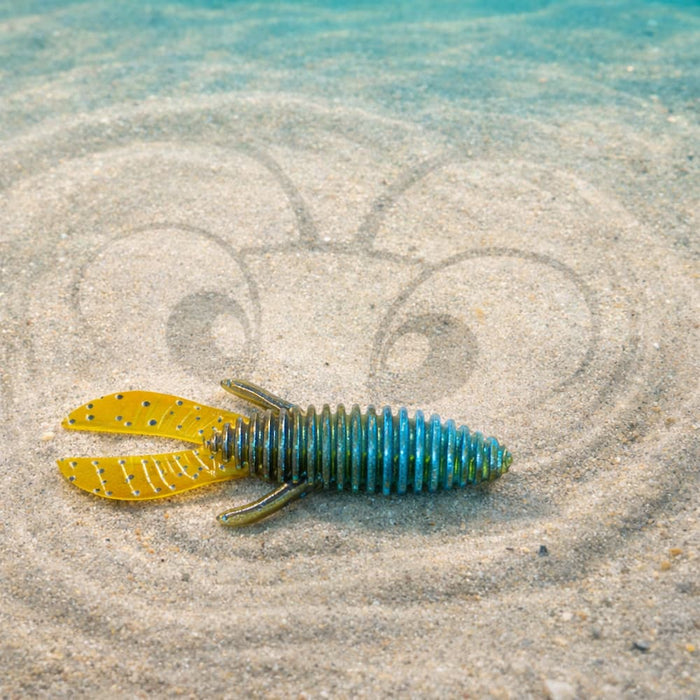
FIELD NOTES
Summer bass fishing with soft plastics — where bass actually go in the heat, when to fish, and the four-bait playbook that...
Read the guide ↗No guides in this category yet. Explore another category.