Hobbies & Collectibles / News, Launches & Updates
Framing a Finished Puzzle? Make a Measurement Note Before Gluing
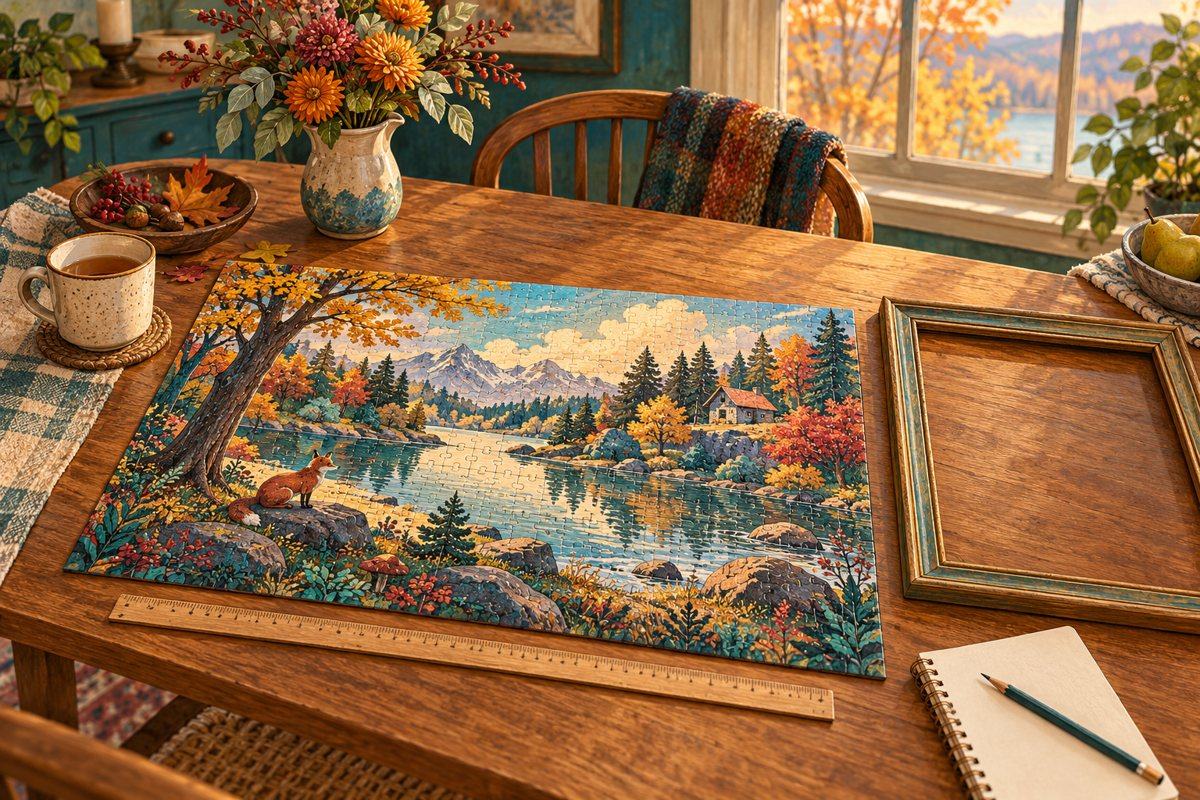
The last piece is in, and the picture deserves a little longer on display. Before reaching for glue, make a small note about the puzzle and its future. It can help you choose a frame without accidentally turning a puzzle you love rebuilding into a permanent picture.
Cover: original conceptual illustration by Happibee.
Start with one choice
Would you like to take it apart again, pass it on or rotate another puzzle into the same frame? Keep that answer beside your measurements. If you are unsure, leave the adhesive unopened while you explore your options.
Ravensburger’s framing guide treats glue as a permanent choice. Its glue-free method holds the puzzle between glazing and a backing board; that depends on a snug fit. Larger puzzles can flex and separate, so a frame that merely surrounds the picture is not necessarily enough to support it.
Write down the fit, not just the piece count
Our suggested shopping note has four entries:
- Finished width and height: measure the assembled rectangle and keep the units with the numbers.
- Puzzle thickness: note it so you can ask whether the frame accommodates the puzzle with its glazing and backing.
- Future plan: rebuild, pass on, rotate or keep permanently.
- Frame check: confirm the internal dimensions and how the backing secures the puzzle.
“A frame for a 1,000-piece puzzle” leaves those fit questions unanswered. Bring the measurements to the frame listing or shop instead.
Plan the move before lifting
Ravensburger recommends completing the puzzle on a board to reduce later transfers. If yours is already finished, pause before picking it up and plan how it will stay supported. Keep it flat while you work out the display method.
For a first display, we would settle the fit and the rebuild question before buying adhesive. A few measurements now keep more options open for the picture you just finished.